NanoPi R2S 的USB网卡配置

root@FriendlyWrt:~# lsusb Bus 004 Devic…
root@FriendlyWrt:~# lsusb Bus 004 Devic…
ros_pppoe是拨号的interface chain=srcnat…

1,安装amazon store里的 Downloader 2,…
sudo ssh -fgN -L 33819:localhost:5043 l…

升级了dsm,本来的vpn套件是1.4.4-2855,…
![How to Test Port [TCP/UDP] Connectivity from a Linux Server with nc](https://www.juyimeng.com/wp-content/uploads/2013/09/24h_html_m78c41dd3.png)
yum install nc # nc -z -v [hostname/IP …

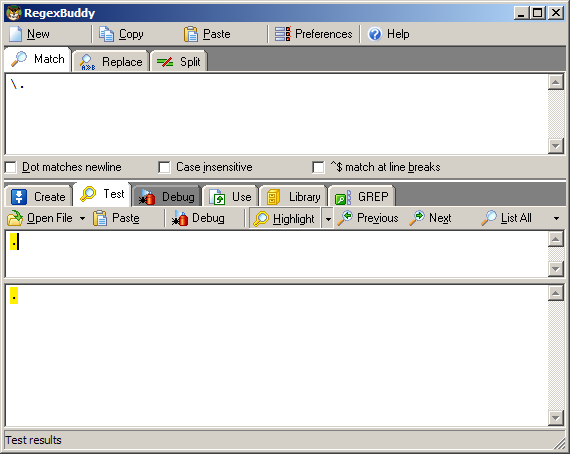
email的发送设置,可以从 Tools / Email …

Edit , insert t…

esxi的host主机支持虚拟化,需要在虚拟机…